Rework from Obi

[`evernote` not found]
Digg にシェア
LinkedIn にシェア
StumbleUpon にシェア
Pocket

SuVNY1ZRq_jvDJag1jNyga9rJGJZ0X07KN_FuI_cZZg

Rework from Obi (Kimono sash) : Pouch with a metal clasp
I made a pouch from an Obi fabric. The fabric is fairly thick and strong, so there is no need for reinforcements to make a pouch.This is not made from a Obi itself, but is using remnants of Obi making. Both can be made in the same way. If you would like to make a pouch from a used Obi, find a un-domaged place and put pattern paper thinking of the design of the finished goods.This example was made to show the woven Kanji pattern clearly. Although this example is using western cotton cloth coated with plastic as the lining, as this is a rework from Obi, a lining of Obi would have suitable thickness and match perfectly with the outer.

Metal clasps are available at handcraft shops. Many metal clasps are sold with a fitting pattern paper. This pouch is also made using a clasp came with a pattern paper. It took me two days to make it. As it seemed difficult to use a sewing machine for the curbs, I sewed all by hand, and it took longer than I had expected. If you are experienced, it might be possible to finish it in half a day.
How to make the half-breadth obi

[`evernote` not found]
Digg にシェア
LinkedIn にシェア
StumbleUpon にシェア
Pocket

gaFiUmcHTZAkTbOvFzv5xOBx2JpzpvBrFdhl4wIo3aY

How to make the half-breadth obi

If the obi that fit your image is not available, you can make it by yourself. The formal obi is difficult for putting it on.
You can sew it in a straight line with a machine, if it is casual and you understand the structure. Here, I introduce an example of how to make the simplest the half-breadth obi.

The fabrics both for dress and for a length of cloth needed to make a kimono are OK. The fabrics with slippery surface should not be used because it is difficult to fasten. Please do not use the thin fabric because glue comes out through it when the fabric is pasted with glue. Please prepare a fabric with 30cm and double the margin for a seam in width and 3.5m in length. It does not matter if you connect fabrics on the way. However, the seams stand out when you tighten it if it sewed in the middle. It is preferable to sew pieces of fabrics with the odd number. I’d recommend the following way: prepare a fabric with 110cm in width and 1.2m in length, divide it equally among three, and then sew them. Press the fabric with glue on the whole surface of backside of the fabric except the margin. It is all right even if it protrudes a little. Then, fold the fabric in two so that the front side comes inside in the width direction and sew the periphery, leaving about 30cm near the center of the long side. After sewing, turn the fabric inside out from a part where it was not sewed, and then close the part by hand sewing so that the seams do not stand out  Finally, you shape up with an iron.


About eri (collar)

[`evernote` not found]
Digg にシェア
LinkedIn にシェア
StumbleUpon にシェア
Pocket

WRhmYiRs_5pTVyAuMI7Zmj2_xjUJdiPNfb56vO9Y2RY
About eri (collar)

There are three types in the collar of the kimono, hiroeri, bachieri and bo-eri.

In hiroeri the inside of the collar is not sewn to the body. When you put on, fold it into two and spread it naturally toward erisaki (the bottom of the collar). It is used in many women’s kimonos. Its feature is that you can make its width as you like and finish it puffy.

Bachieri is sewn down to the body in such a manner as it naturally spreads towards the erisaki. You don’t have to fold it when you put on. It is called bachieri because its shape is like bachi (stick) of a samisen. Many of yukatas for women have bachieri. It is easy to wear than hiroeri, and it is very easy to make. In addition, it looks very cool because it isn’t so thick. This is why many people dare to use bachieri for summer kimonos except yukatas.

Bo-eri is a collar that is sewn to the body with a certain width to the end of collar, which is generally used in men’s kimono and children’s kimono. It is easy to put on and to make as well as bachieri.

It is thought that the collar of only women’s kimono is getting wider toward its end because it naturally goes along the brest of women.

Kimono in new year

[`evernote` not found]
Digg にシェア
LinkedIn にシェア
StumbleUpon にシェア
Pocket

Izp039a31QUvFowmMIlEGRt5DYoZMOKlHxSmb6OL_RA

Kimono in new year

“Ohashori” is a part of cloth that fold back under Obi band too much longer, that is the symbol of the women’s kimomo. The way of wearing withiout Ohashori, it is said “Tsuitake”, men and children wear Kimono with Tsuitake method. In terms of history, in the early Edo period, women also wear with Tsuitake, there are no Ohashori. After that, Kimono become longer, and appeared the wearing method called “Ohikizuri”, when go out, trailing kimono often become dirty, so they pulled up the hem of Kimono, that is said the Ohashori’s start.

In practical term, it is necessary a small margin to fit Kimono that has straight line to the body curve. So a small margin is to be in Ohashori . Born from the fashion, but Maybe it takes root because of useful in practial term. Now, meaning of Ohashori is more than beautiful parts, so it is good as thin and plain as possible, parallel to ground and lenghs is about 5~10 cm is much better.

How to coordinate a kimono and a obi?

[`evernote` not found]
Digg にシェア
LinkedIn にシェア
StumbleUpon にシェア
Pocket

lGuXE0YJj5DyGXYKFqtNAopEjdeVOzW6M0epw4CCisM

How to coordinate a kimono and a obi?

It is a pleasure to choose coordination of a kimono and a obi, but it is also difficult for kimono beginners. I think they may face some difficulties since it is based on “pattern to pattern” selection not like western style clothes. For western style clothes, coordinating by similar patterns and colors make you comfortable, but for kimono, coordinating a kimono and a obi with similar patterns or colors loses sharpness and giving an indistinct impression. It looks much beautiful if coordinating in contrast way: a large pattern kimono with a small pattern obi, bright color kimono with a modest color obi. When coordinating a kimono and an obi with similar patterns and colors, it is better to give an accent by choosing opposite color for obiage and obijime or use rather large obidome.

In addition, when you go to a kimono shop, they might recommend you to make “one color of kimono for prime color of an obi”. For example, it is said to be better if coordinating a dark blue kimono with yellow flowers pattern and a yellow obi. This idea can also be applied for choosing obiage and obijime. In this case, if totally different red obi is coordinated with a dark blue kimono with yellow flowers pattern, it looks well-coordinated when they are coordinated with yellow obiage and obijime.

How to wear too small kimono?

[`evernote` not found]
Digg にシェア
LinkedIn にシェア
StumbleUpon にシェア
Pocket

nHCIubnvbvg5ATfj0yxF3qSDQMM0CuT4vXm996MjThE

How to wear too small kimono?

If the sleeve length is short, it can be unexpectedly lengthen by pulling down the neck-band bit lower.
However, a position for the wristband of a kimono is rather higher than a western style clothes and it is a suitable position if the wrists are just visible. If the length of a kimono is too short, use rather thin koshihimo and make the tying position as lower as possible. If it is possible that the ohashori can be made just at just lower portion of the backbone, it is better to tie the kosihimo at that position. If the koshihimo is visible at this position, there is another way of dressing up a kimono without ohashori called “Tsuitake”. It is not a formal way of dressing up a kimono, but it is popular way among antique kimono lovers of which size is small at many times.

If the chest size is small, fit the uwamae (left side front portion) on the front as it makes symmetry for both left and right while fitting the shitamae (right side front portion) as far as possible towards under arm. This may cause that the left side seam and the edge of uwamae go to the front, but just disregard them. However, the uwamae and the shitamae should be overlapped at least 20 cm, or the front portion will be exposed. If the chest size is less than that of overlapping, it is better to request for altering the size.

How to wear much bigger kimono?

[`evernote` not found]
Digg にシェア
LinkedIn にシェア
StumbleUpon にシェア
Pocket

aCcqe2o_bG3OQiuSNsk-6DcuQA1Plg_eDGUlAXdcBIo

How to wear much bigger kimono?

If size Kimono is too bigger so that your hands are covered over all, it is hard to deal with way wearing. In case Kimono covers your hand a little, it can be shotage a few centi-meter by adjust around the chest. At first, draw Kimono part of your back side to right and left, then smooth down and remove pecker your front side to side, and fold from front to back and hold with Datejime.

In case too longer length, rise up the waist band.
If Ohashori has still much volume after you rise up to waist, You bring up the lower part to appropriate position, and holding with another waist band. The part of slack covered by Datejime. It is all right Your back side Ohashori will covered by band if it isn’t put in order, while bring up Ohashori to than the band’s hanging. In case too wide your Width of a garment, fit a lower front (right side body) to the body, fold back to front(leave from body) left side. The center of upper body matchs the point of backbone, not care of the downside body slip off to right side.

Why the instruction for wearing Kimono is different depending on books.

[`evernote` not found]
Digg にシェア
LinkedIn にシェア
StumbleUpon にシェア
Pocket

p7SfsWI5ttNgTMQWgoaOB6n0xYi4Ba0MPsfl3qdjzmY

Why the instruction for wearing Kimono is different depending on books.
When you try to learn how to wear Kimono by yourself using internet, you maybe find some different pages in different ways.
Even published books,can be different depending on authors. There is not correct way or procedure to wear kimono.
If you can wear it beautifully in the end, it is all right. The descriptions on internet or books are the best and easiest way that authors learned through their experiences.

This is why the method differs a little depending on the person who writes. If you can’t do it well with the instruction of one book, refer to another book and you may be able to do it better.In the kimono wearing class of a house where a person teaches, the teacher will teach the method which he/she thinks is the easiest way. In the kimono wearing class of a big school, the method and process are specified in detail. Unless you want to become a teacher of a big school, you can choose the easiest way for you.

The technique to wear easily

[`evernote` not found]
Digg にシェア
LinkedIn にシェア
StumbleUpon にシェア
Pocket

gBDMKVINhNRSAUQWaE6zdNxASEVOBg_pnDcnZqQimNI

The technique to wear easily

To wear kimono is easy is if you are used to it, but it is hard to get used to. This is why the technique to wear easily is being made.

[Two piece kimono]
It is a kimono separated into two pieces of top and bottom to be worn as clothes.
Most of them are found to be two piece kimono at a glance, so they won’t be used as substitutes for kimono. However, they are used as Japanese-style work clothes and new types of Yukata, taking advantage of their designs.

[Two piece tsukuriobi (making band)]
This is obi separated into two parts; for your waist and for otaiko (drum) part. Otaiko part is already shaped. After putting obi on your waist, tie Otaiko with a string on your back, and hide its joint with obiage. It is used not only by those who are not used to tying obi but also by old people who have difficulty in reaching around their backs.

[One piece tsukuriobi]
It is called “tsukuriobi without cutting”. Otaiko part is just sewn on it.
Tie the otaiko part with a string on your back, put obi sretched from it on your waist, and hide its edge under otaiko. After that, tie obijime so that hidden edge won’t come out. Its feature is that it will be back to the original shape when the string is pulled out. I think “One piece tsukuriobi” is a little more difficult to make than “Two piece tsukuriobi”.

Types of kimono sash patterns

[`evernote` not found]
Digg にシェア
LinkedIn にシェア
StumbleUpon にシェア
Pocket

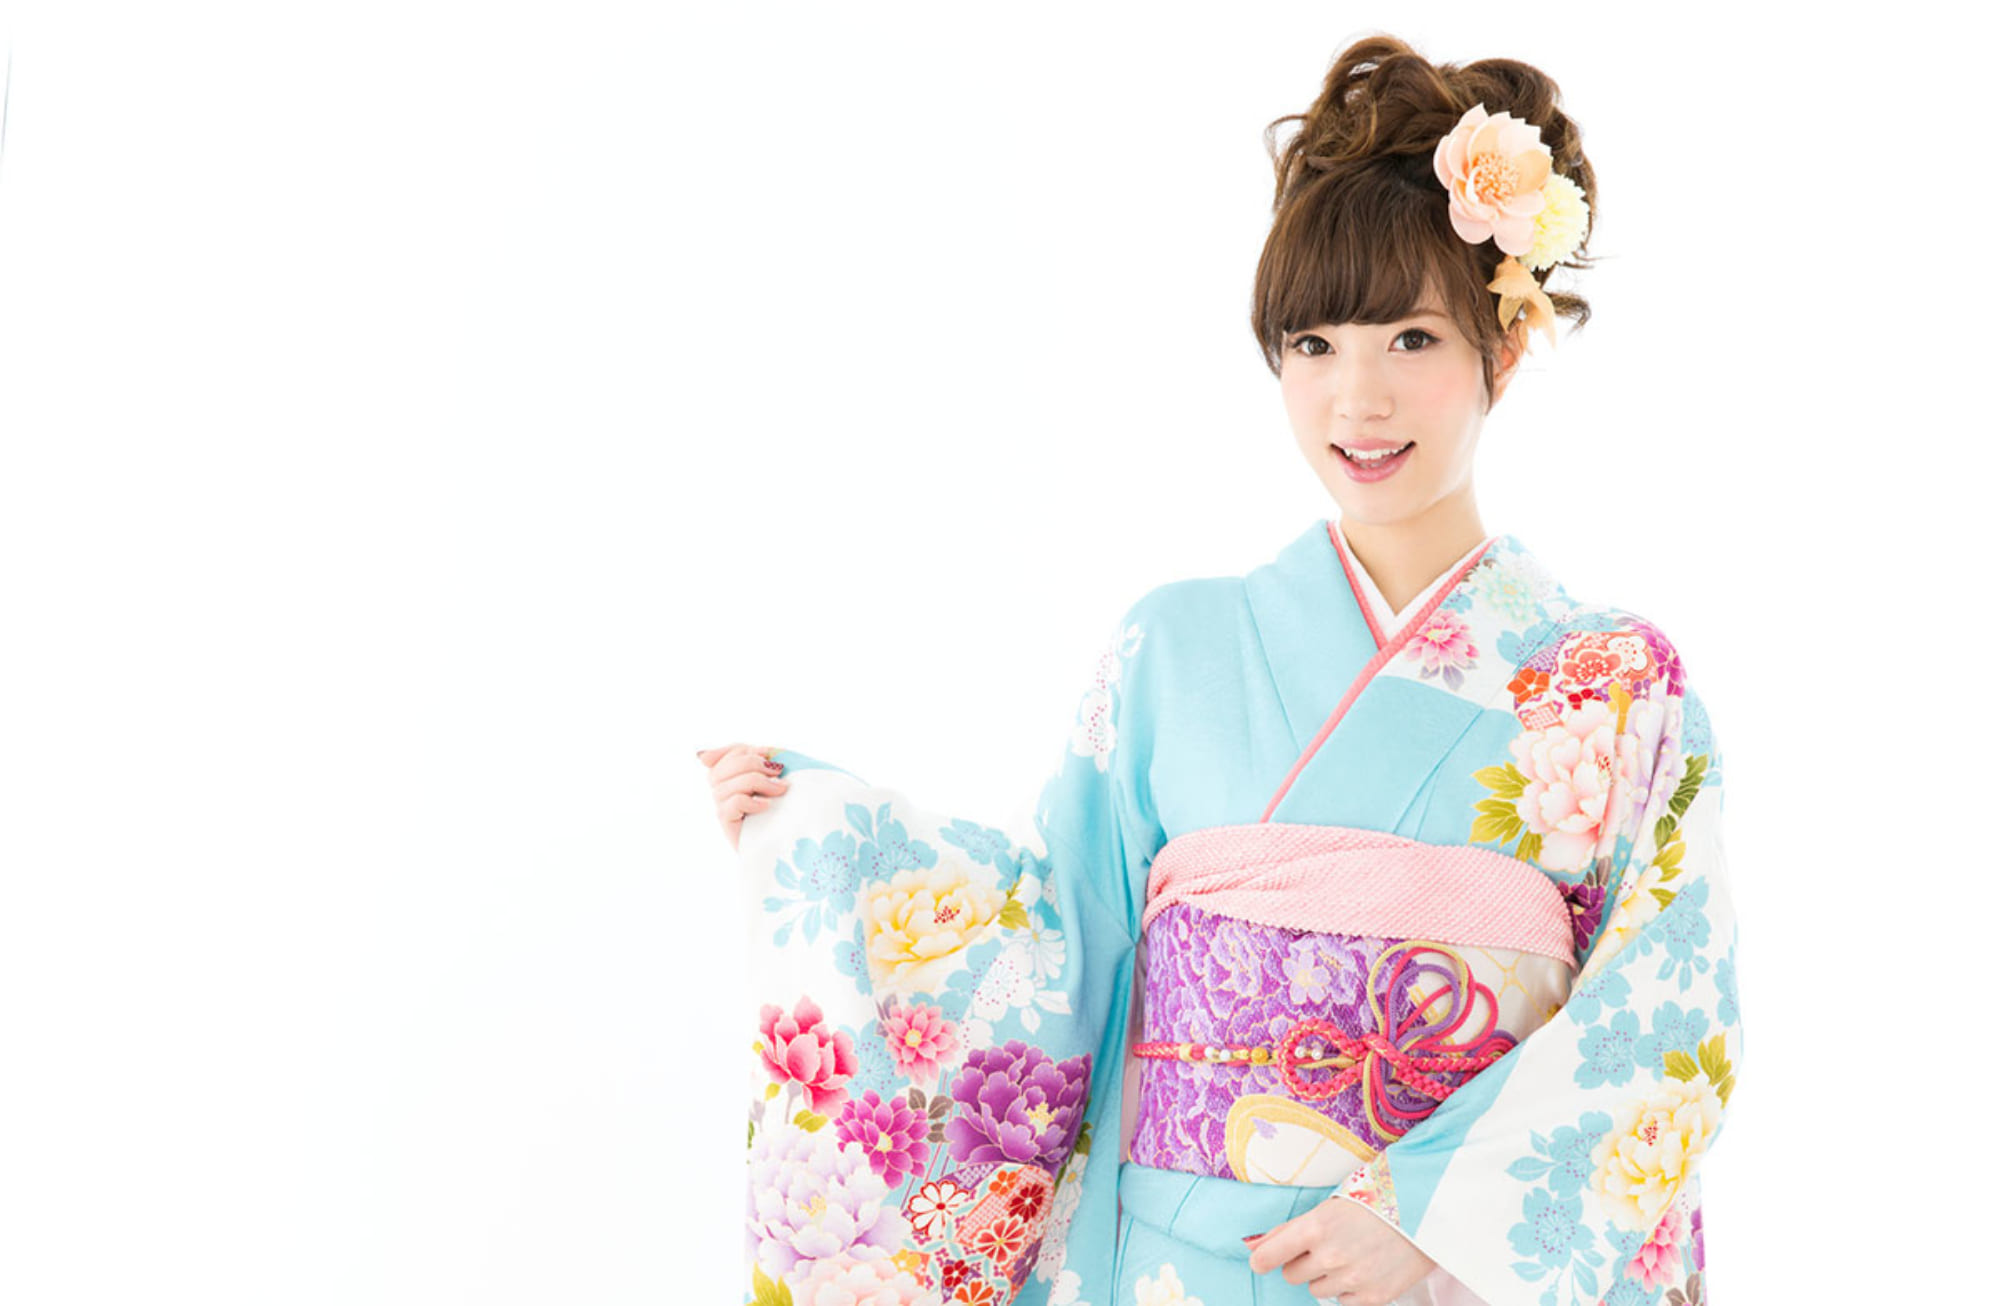
Beautiful kimono woman

There are three ways patterns are arranged on kimono sashes.

Zentsu Pattern:

The entire sash is covered in a specific pattern, which is commonly a repeated pattern. Since any part of the sash can be placed in the front and it can be used in Otaiko knots, these types of sashes can be recommended for beginners. However, the main drawback is that Zentsu sashes can be thicker and heavier than other sashes.

Rokutsu Pattern:

The pattern on a Rokutsu sash covers less area than on a Zentsu sash. The areas that will be covered up when tied around the torso are plain and unadorned. Not only are they cheaper than Zentsu sashes, they are easy to tie and they are light, which is why they are currently the most common type of kimono sashes in use.

“Rokutsu” means “six pass,” which means the pattern cover only six-tenths of those sashes. Although a lot of people don’t use it, there are also Yontsu sashes in which only four-tenths of the area is covered in a pattern.

Otaiko Pattern:

It is also called the “Point Pattern.” The pattern is only placed on the part of the sash that will be seen in the rear part of an Otaiko knot, but there are many sashes that also have patterns that will be seen in the front part (the abdomen) as well. Those particular patterns are called “haramon.” These sashes are popular because they can create a picturesque presentation, but tying these sashes so that the patterns can be seen neatly will take some getting used to.